

Written for dentists and dental technicians, based on three full-mouth rehabilitation cases Khai Nguyen Dental Lab published on Facebook between January and April 2026, fabricated to the prescriptions of the treating dentists (including Dr Sai Aom Kham and Dr Nguyen Ngoc Trung Hau of Vien Dong Dental Clinic). Photos were taken by the lab; no patient-identifying information is included.
A full-mouth rehabilitation with an increase in vertical dimension rarely uses one type of restoration. Anterior teeth need veneers or esthetic crowns, worn posterior teeth need onlays or crowns, edentulous areas need implant restorations, and all of them must occlude at a new vertical dimension in one uniform shade.
For the lab the challenge is not any single unit but two things that run through the whole case: occlusion, and shade consistency across different materials. This article summarises how Khai Nguyen organises such cases.
Two challenges of mixed-restoration cases
Controlling occlusion at a new vertical dimension
When the bite is raised there is no natural tooth left as a reference for the occlusal plane and excursive guidance. The lab rebuilds everything on the articulator at the vertical dimension, centric relation and canine guidance the dentist established with the provisionals.
The provisional the patient has worn comfortably for several weeks is therefore the most valuable data: a scan of it gives the lab an occlusal plane, incisal edge length and amount of opening that have been tested in the mouth, instead of designing from scratch.
Shade consistency across veneers, onlays, crowns and implants
Each restoration type sits on a different substrate: veneers on bright enamel, crowns on darker stumps, onlays on dentin, implant crowns on titanium or zirconia abutments. The same shade code on the prescription gives four different results if the lab uses one opacity for all.
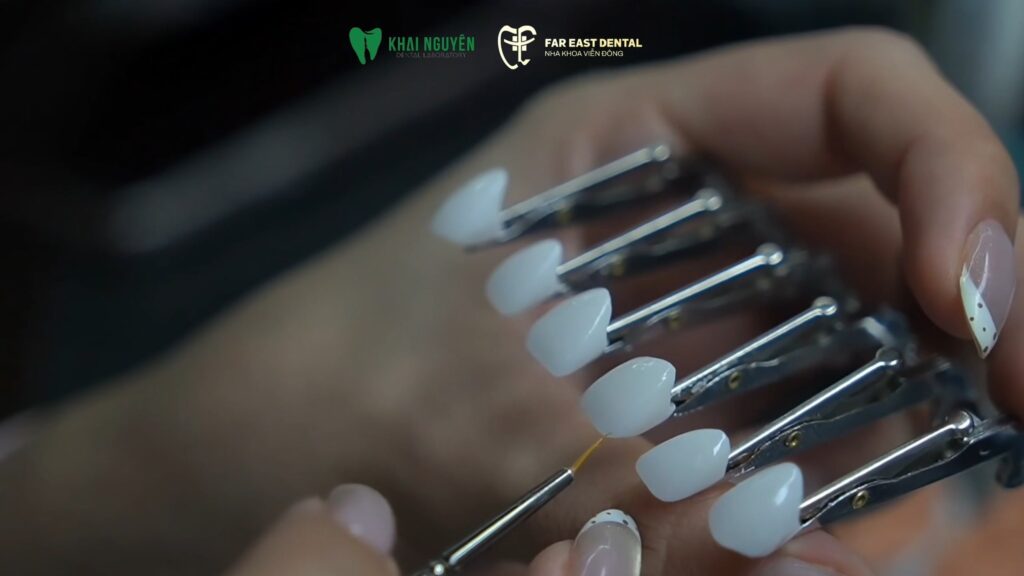
The solution is to select the opacity of the core individually per unit according to its substrate, while using one porcelain system for the outer layer across the whole arch so translucency and surface texture are uniform.
Photo above: Full-mouth rehabilitation combining veneers, ceramic crowns and implant restorations: occlusion and overall esthetics are planned together for every unit.
Lab workflow
- Complete data set: scans of both arches after preparation, a scan of the stabilised provisional, a bite record at the new vertical dimension, frontal and lateral smiling facial photos, a shade photo with the tab in frame, the stump shade of each tooth and the abutment type of each implant.
- Design the whole arch in one file. The lab designs upper and lower arches together: occlusal plane, midline, lip support, canine guidance, and only then separates the units by restoration type. Separating too early is the source of most occlusal errors in large cases.
- Material by position and substrate: for example pressed or feldspathic veneers for the anterior teeth, multilayer zirconia for posterior and implant crowns, lithium disilicate for onlays. In the ZirCAD Prime case, the disc’s Gradient Technology provides a smooth shade transition inside the block, which helps zirconia crowns blend with the layered veneers next to them.
- Produce in groups and try everything on the articulator. Cores and crowns are tried together on the model to check contacts, static and excursive occlusion before the outer porcelain is layered.
- Layer and finish a uniform outer layer on every unit with the same porcelain system and firing schedule; check shade under several light sources and photograph the whole case before shipping.
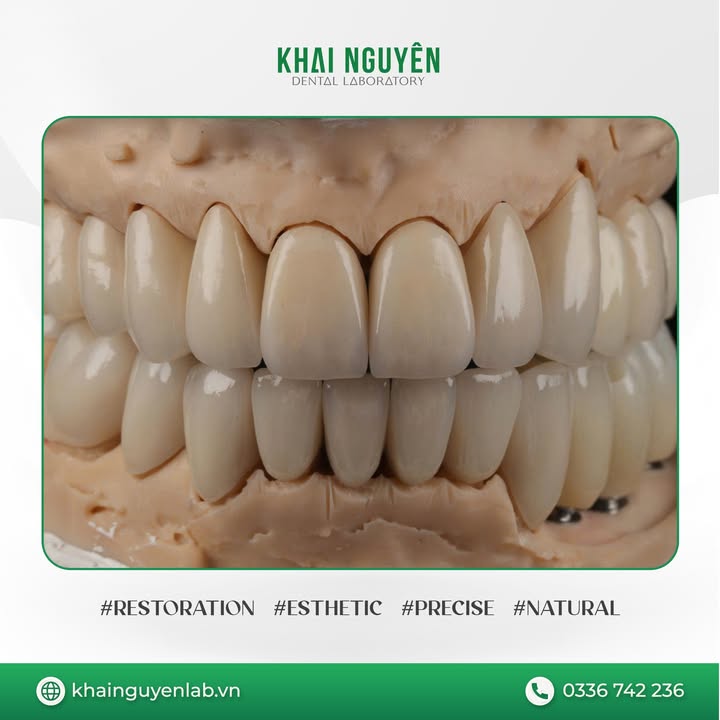
Illustrative case: full arch in ZirCAD Prime with Gradient shading
In a case prescribed by Dr Nguyen Ngoc Trung Hau (Vien Dong Dental Clinic), IPS e.max ZirCAD Prime was chosen for most units because of the high esthetic demand across the arch.
The gradient built into the disc gives posterior and anterior crowns the same colour family without relying entirely on hand layering, while the incisors were cut back and layered for translucency and effects. Coordination between clinic and lab, from provisional to framework try-in, decided this case.
What the dentist should prepare before sending a full-mouth case
- A stabilised provisional worn for at least 4 to 8 weeks at the new vertical dimension, with its scan sent with the case.
- A reliable bite record at that vertical dimension; if in doubt send two and say which takes priority.
- A per-tooth material plan agreed between dentist and lab before preparation, because reduction differs between veneers, onlays and crowns.
- Stump shade photos for every tooth and the implant abutment types, so the lab sets the core opacity per unit.
- A try-in plan: a full-mouth case should have at least one framework or tooth try-in before finishing, even in a digital workflow.
Read more: zirconia crowns and veneers over uneven preparation shades, how to choose a lab for large cases. Send a full-mouth case via WhatsApp +84 902 945 585.
Written for dentists and technicians. Khai Nguyen Dental Lab manufactures to clinical prescription only and does not sell directly to patients.