

Written for dentists and dental technicians. The cases shown were fabricated by Khai Nguyen Dental Lab to the treating dentists’ prescriptions and published on the lab’s Facebook and Instagram in July and August 2026; no patient-identifying information is included.
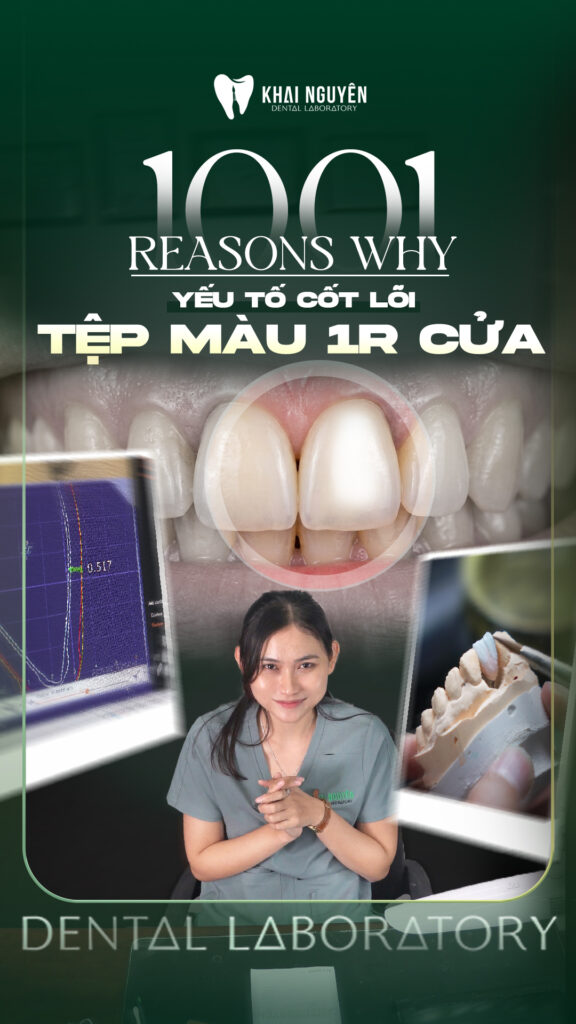
Restoring one or two central incisors over a dark preparation is the most stressful brief a ceramist receives: the substrate has to be masked, yet the restoration must stay translucent enough to blend with the natural neighbour.
This article explains how Khai Nguyen handled an A4 preparation prescribed for a 1M1 result, and the three things a dentist can prepare chairside to raise the odds of success.
Why a dark preparation is difficult
Esthetic ceramics look natural because they transmit light. That same translucency lets the substrate show through: an A4 stump, or a tooth darkened after endodontic treatment, turns a thin restoration grey whatever shade of ingot is chosen.
To reach a bright 1M1 without an opaque, plastic look, the masking layer must sit in the right place (against the stump), stay thin enough to leave room for translucent porcelain, and carry a warm tone that neutralises the grey of the substrate.
The larger the colour distance between stump and target, the more thickness is needed. That is why the first of the three factors below is in the dentist’s hands, not the lab’s.
Three things the dentist can prepare chairside
1. Restorative space
Over a dark stump, a 0.3 to 0.5 mm veneer can hardly mask and stay translucent at the same time. The lab needs at least 0.8 to 1.0 mm labially for a thin masking core plus a layered surface, and 1.5 mm or more at the incisal edge for translucency.
For a full crown, 1.2 to 1.5 mm labially allows a medium-opacity pressed core with layering on top. Photograph the preparation with a stump shade guide in frame; without it the lab has to guess the opacity and the remake risk is high.
2. Material
For the A4-to-1M1 case, Khai Nguyen pressed the core from an IPS e.max Press MO (medium opacity) ingot. MO masks a dark substrate without killing the restoration, unlike the HT or MT ingots normally used for veneers on bright stumps.
For very dark stumps or metal posts, multilayer zirconia masks better; where several units on the same arch must match, the lab can prescribe both crowns and veneers in zirconia so the colour stays consistent (see the full-arch case below). Our ceramic materials comparison summarises the masking ability of each family.
3. A design built around the right effects
The MO core is designed with a cut-back in the incisal third and on the labial surface, leaving room for layered porcelain that carries enamel striations, dentin lobes and the incisal halo. The masking sits deep inside; the vitality sits on the outside.
When the dentist sends photos of the adjacent teeth under neutral light and states the desired level of effects (light, medium, pronounced), the lab maps the effects to the patient’s real teeth instead of a generic template.
Photo above: A4 stump restored in 1M1: the e.max MO core masks the dark substrate while the layered porcelain keeps natural translucency.
Lab workflow for the A4-to-1M1 case
- Stump shade assessment from the photo with the stump guide, and the decision on core opacity.
- Digital design at full contour, then a cut-back leaving an even 0.4 to 0.6 mm for porcelain labially and more at the incisal edge.
- Pressing the core from the e.max MO ingot; masking checked by seating the core on a die of matching stump shade.
- Layering warm dentin at the cervical zone to neutralise grey, enamel and translucent porcelain at the edge, effects following the photos of the natural teeth; several firings.
- Checks under several light sources, especially with light transmitted from behind, which is when a dark substrate shows most.
When many units must match: zirconia for crowns and veneers alike
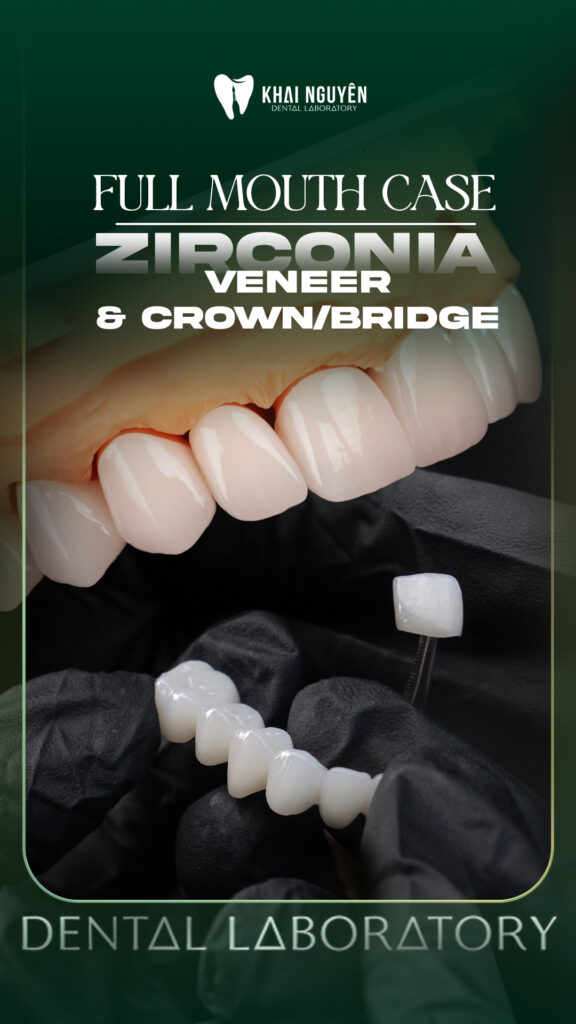
In a recent full-arch case the dentist prescribed zirconia for the bridges, crowns and veneers. Zirconia veneers are not a routine choice, but with several stumps of different colour they solve two problems at once: masking the substrate and keeping one material system across the arch so the shade stays uniform.
In return, dentist and lab must agree carefully on minimum thickness, bonding protocol and margin position, because zirconia does not forgive an over-thin edge the way feldspathic porcelain does.
The two-central-incisor case
Two central incisors are harder than one, because the eye compares two symmetrical teeth directly. Beyond shade and form, the lab must reproduce the same type of effects on both: the same position of dentin lobes, the same incisal translucency, the same surface texture, without making them identical.
In this case the dentist sent close-ups of the canines and lateral incisors so the lab could read the patient’s own “effect language” instead of applying a standard pattern.
Checklist for sending a dark-stump incisor case
- Photo of the prepared stump with a stump shade guide in frame, under neutral light.
- Photos of the adjacent and opposing teeth with the target shade tab (1M1, BL2, A1) next to them.
- State the reduction achieved labially and incisally; if it is insufficient the lab will say so before production.
- State the desired level of effects and the patient’s age, since young teeth need more detail than older ones.
- For important cases, ask for a photo of the core on a coloured die before layering.
Read the case study on zirconia crowns and veneers over uneven preparation shades, or send an anterior case via WhatsApp +84 902 945 585.
Written for dentists and technicians. Khai Nguyen Dental Lab manufactures to clinical prescription only and does not sell directly to patients.